360 Cameras are not just for 360 video
From my earliest times in video production, I often gravitated toward pushing the limits of whatever capabilities I had, to create something unrealized. I have many examples from early in my career, continuing to today.
In 1990, I made this promo creating “DVE effects without a DVE” (Digital Video Effects). This was all achieved panning a monitor with a camera in a dark room, and using basic switcher masking and keying.
The moving logos were paper copies on an easel, panned with a camera using a standard luma key from the switcher. Truly “old school.”
In 1991-92, the Newtek Video Toaster revolutionized video production forever becoming the first video production tool to be housed in a desktop computer. I was instantly taken by the 3D animation capabilities. This was not a straightforward task back then. Each frame required an hour or more to render, then after a series was rendered and stored, laid to videotape one frame at a time. 30 frames for each second of finished video. Primitive by today’s standards for sure. But that wasn’t enough for me. I also “hand digital painted” the live action football scenes in this video, through a technique known as rotoscoping. All done with the Video Toaster.
Innovating video techniques continues……..
I never really broke away from trying to push the envelope. I enjoy pushing myself…and the equipment. The latest testament to this happened recently while working to produce a promo for a local film festival. I am a member of the committee, which all works volunteer. We will be having a day of showing many local films from upcoming filmmakers, at a Doylestown, PA institution. The TileWorks still hand makes tiles with the molds of its founder, Henry Chapman Mercer. The building is made of all poured concrete, in a “U” shape, with a courtyard. It is here where we will show the films on a screen. I took the “U” shape and created the concept for a promo featuring many examples of past films being “projected” around the “U” on individual screens. After picturing the concept, the wheels in my head starting turning as to how to accomplish this—with an all volunteer production requirement.
First, The Finished Product
This is the finished result of the concept. Read on further for a breakdown on how this came to life.
360 Video to the rescue
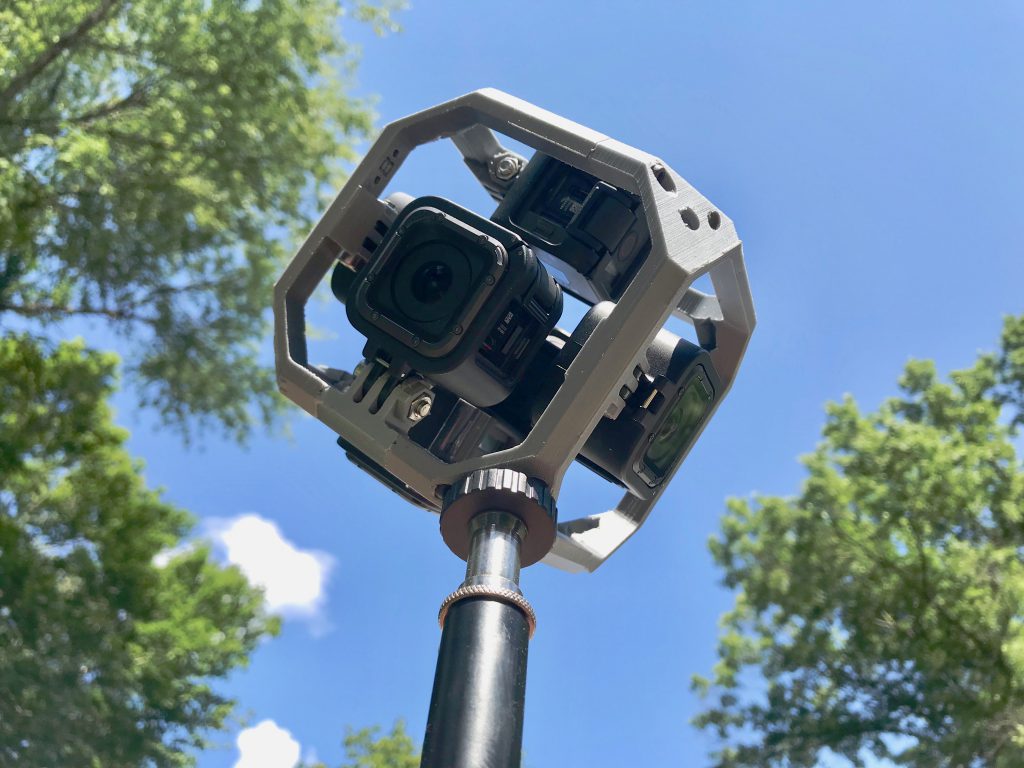
Since 360 video is another one of my skills and interests, I have come up with a few tricks playing with the tech. For instance, you can create unique standard video from 360 viewpoints. This was going to work out well for my “U” shaped location. My best 360 camera system is comprised of six GoPro HERO5 Sessions in a 3D Printed enclosure. The combined 360 image derived from the six cameras amounts to 8K video. In post production, I can create a tracking viewpoint of the 360 scene as if you were navigating through a headset. This solved a lot of problems. The “screens” are all static, and non-moving. Imagine trying to motion track all of those screens. Imagine creating a smooth camera motion around the “U” of the building in the first place!
The Video Shoot
First, we had to shoot it. This proved to be the easiest part. A bunch of us showed up at the location for the Film Festival–stood facing the building’s “U,” and said some simple lines and make simple gestures. The camera system was placed in the center of the “U.” No movement of the camera required. A fixed viewpoint. Only it was captured with six GoPros that were to be post-stitched into a single camera view.
A (Video)Stitch in Time………
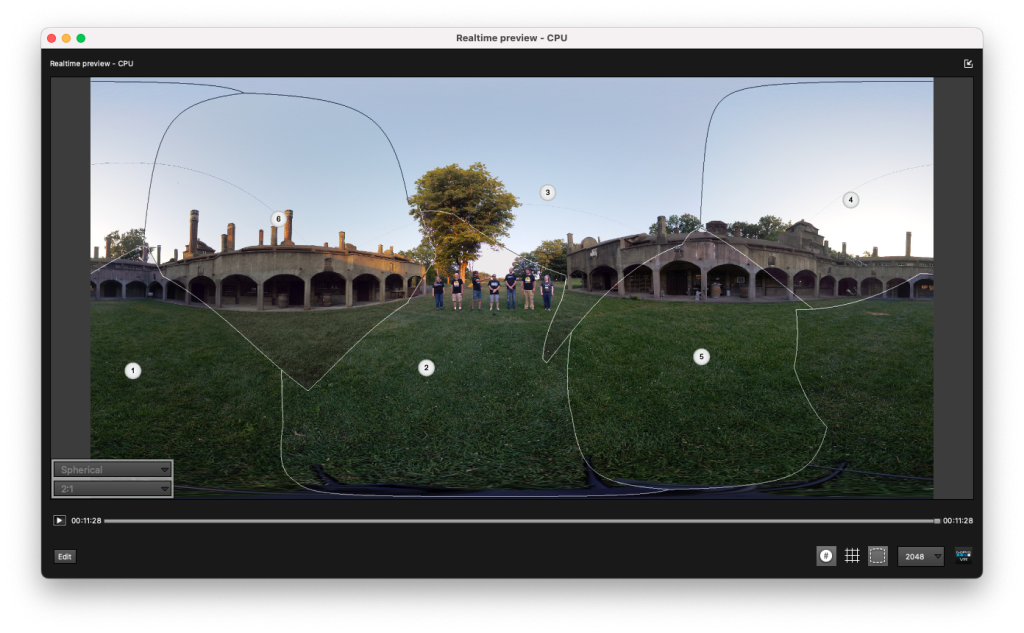
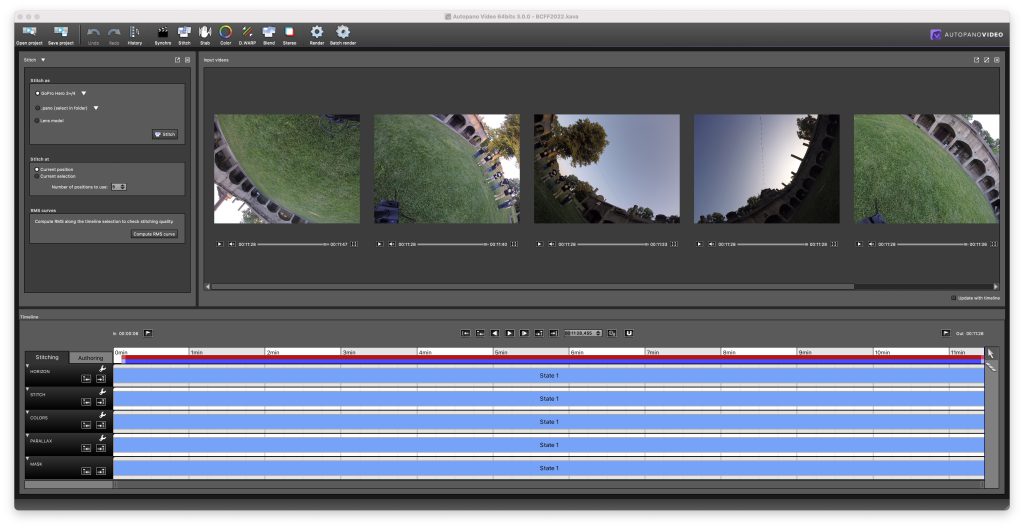
This is where I have to say that I hate what GoPro did to Kolor, the software company they acquired a few years ago, who developed great stitching software that worked seemlessly with things like multiple GoPro 360 systems. Great software that was not cheap. They shut it down when they left the 360 camera cage model. It is STILL great software, but unsupported. But it works–with caveats! Six GoPro images, recorded in 2.7K, rendered together into a single 360 equirectangular 8K 360 video. Using it on my Monterrey OS on an iMac, I discovered that it was crashing while trying to render. I had to turn off accelerated GPU rendering. It took 36 hours leaving it alone to render a 10 minute 8K 360 video—–but it worked. Whew!
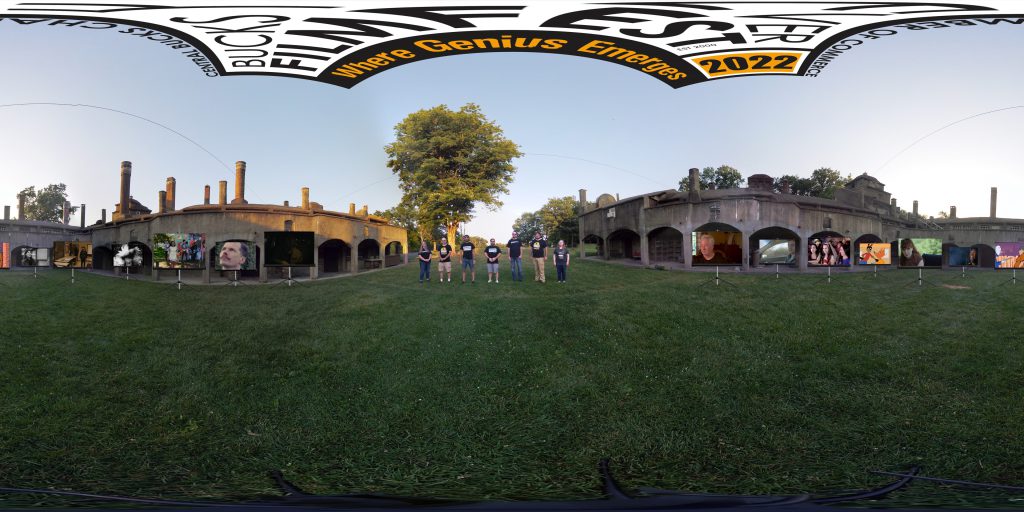
Editing in 360–for now…….
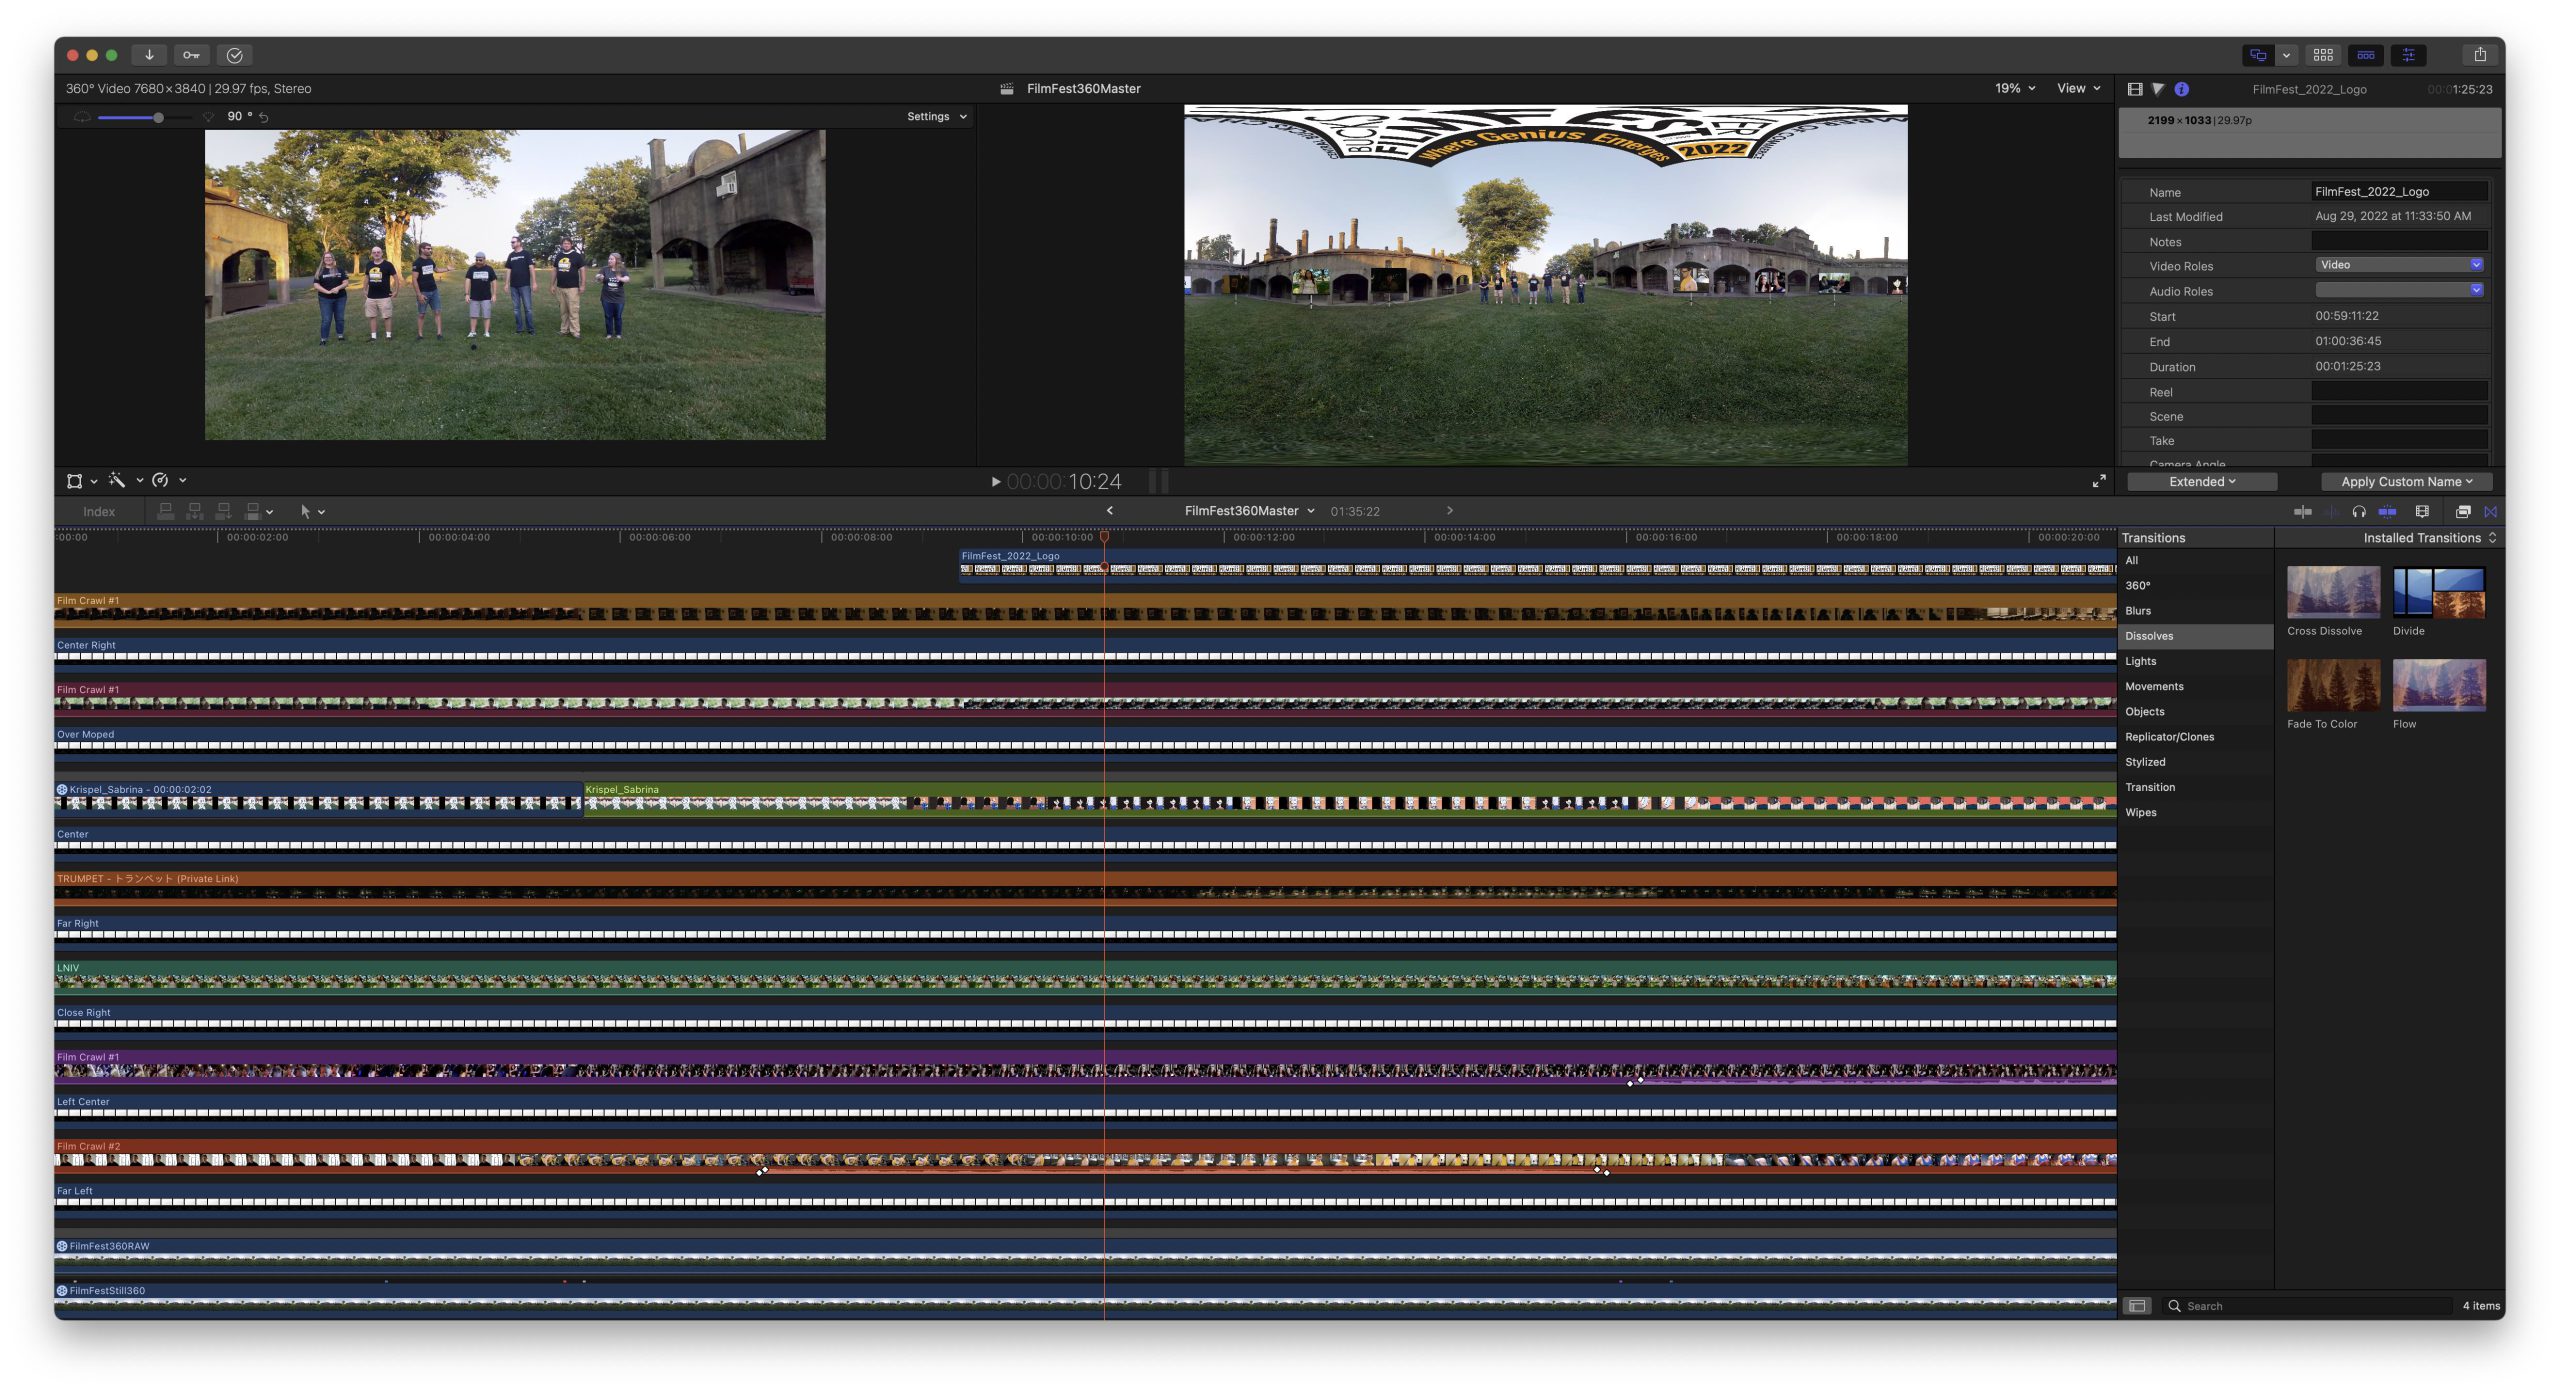
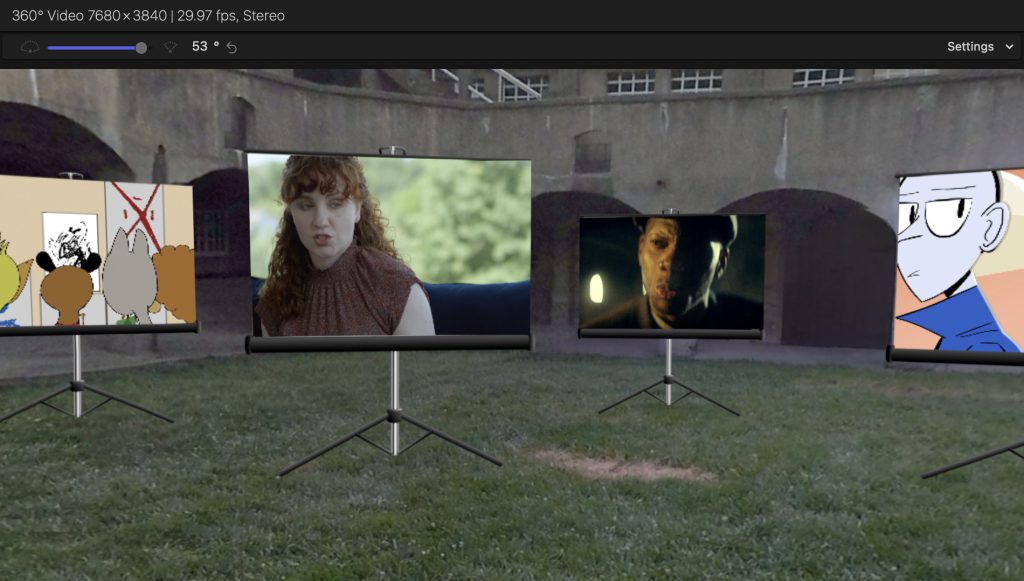
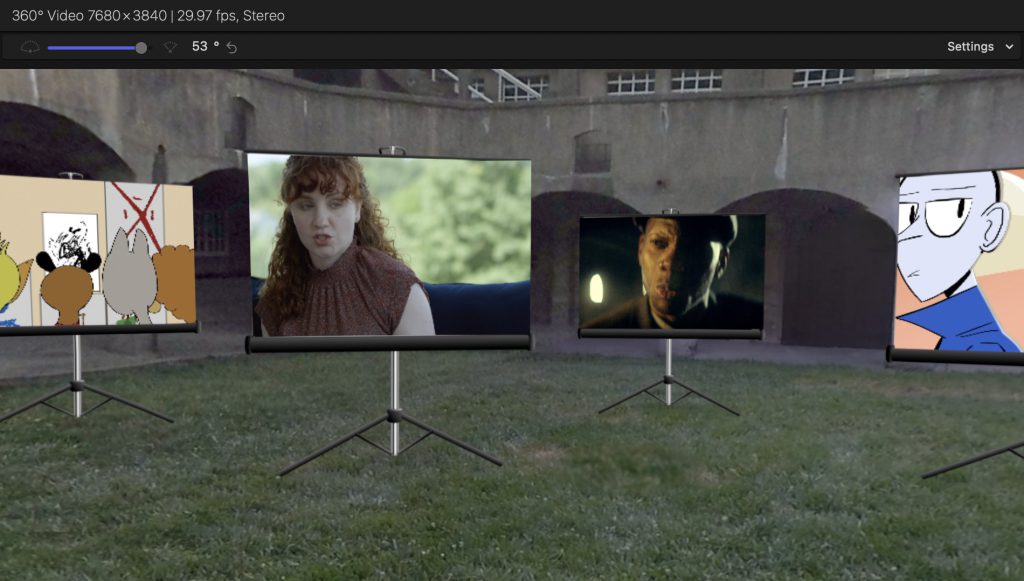
Now that I have my rendered 8K 360 equirectangular video, time to import it into FCPX and get busy. Next was to create the “movie screens” that would be standing around the “U” of the building. With an 8K source video, my iMac was not going to play this smoothly, so I also created Proxy video. Before I started on the screens, I found the clip of us from the committee saying our lines. Audio was recorded on a standalone Zoom Audio Mic. I had to sync this to the main video, which was a rough process. Hard to see things in Proxy mode. A bit of trial and error, but I finally got the end lip sync right. While I was at it, I used FCPX’s “360 Patch” effect to hide a patch of dry grass, and masking to eliminate an overhead cable from the opening scene, as illustrated below.


Lots of Video Layers!
Each “movie screen” was comprised of two layers–one was the screen, which was a free .png I found online, and one layer was the film segment. At first, I only had seven screens (the ones focused on with audio). After this draft was talked over by the film fest committee, it was suggested that more screens should be placed in between, to show more variation of film subjects. So, seven screens became thirteen screens, which required 26 video layers, not including the base scene. As it was, the 8K base scene required me to work with Proxy video in Final Cut Pro. Although I had a fairly “beefy” 2019 iMac with 8GB Graphics Memory–the iMac was hurting! By the time I got to positioning the thirteenth screen, each change would take 10-15 seconds to be reflected. Indeed, some of the final video was a matter of imagining what it would like once finally rendered—just like it was early in my career. I am somewhat used to this.
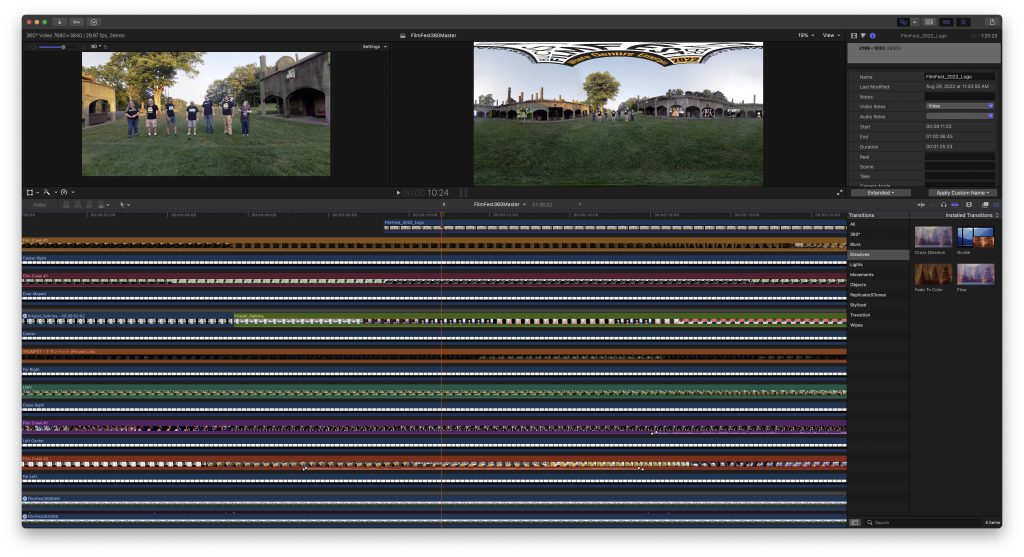
360 becomes “Normal” Video
Once I finally had all of the screens set in the 360 scene to my liking, it was time to create a “flat” 2D video from it. After rendering the equilateral scene with the screens and committee member “talent,” I dragged it into a regular video project. Instead of seeing the equirectangular image, I now see a “camera” viewpoint of the scene, with tools where I can steer view orientation to my liking. I can Pan, Tilt, Zoom around the equirectangular scene as if it was through a 360 viewer. And I can key frame those viewpoints. Even the logo at the end in the sky was part of the 360 scene. I just had to “tilt up.” This……was the fun part for me, where I watched all of those layers I spent so much time in creating come together into a single scene very quickly. To show a perspective of what I could do, below is the 360 still view of the scene. You can direct yourself around this scene, similar to how I could direct around the scene into a finished video.
Mission accomplished!
I think the end result feels in line with the Film Festival itself–innovative filmmaking. Pushing equipment resources–and along with that—myself—to create something unique. Don’t be afraid to push yourself, and don’t be too quick to say “I don’t have the resources to do this.” You might find you do!

You must be logged in to post a comment.